Annealing
Why in the world would you want to do this.??
when purchasing Home Depot's #8 solid ground wire i checked and price was only 45 cent a foot.
picking up 14 awg wire tomorrow for primaries from EIS.
MM
-
Annealing Copper
The copper I am buying is 1/2 hard. Here is a tutorial on copper annealing. I suspect it may need annealing.
https://www.youtube.com/watch?v=3jSz11lz8MA
ShadowLeave a comment:
-
Copper
I should be getting my .375X.125 Copper today or Monday for $36.12 plus shipping!
Good luck,
ShadowLeave a comment:
-
Part G
I hope you used 8 or 10 awg as that is much cheaper and easier to work with. i would also suggest those lugs UFOP and i were talking about. much easier installation and adjustment. just remember to flip the center part before installation. Home Depot has those lugs for 10 dollars for 10 and the 8 awg solid ground wire is only 59 cents a foot.
From the donations i have received i will be able to order the electronics for the timing board in the next few days and begin my testing and adjustments of it and part G.
i am working on a video explaning the Figuera device as a whole then individual parts opperation and why i am doing what i am doing.
one whole video will be dedicated just to part G, it's wonderful opperations and why near zero ohms is so necessary.
always remember inductance from the windings amplified by the core controlls the currant NOT the resistance of the wire. resistance only causes wasted power through heat in part G and the primaries so wind part G and your primaries with as little resistance as possible using thick wire and not according to modern day winding technics. the secondary and second secondary is the only item in Figuera's device that is wound according to modern winding technics. other exceptions are the Tesla AC to DC device.
pics of primary, secondary and core will be posted in a few days, just tying loose ends.
Happy part G'ing my friend.
MMLast edited by marathonman; 11-18-2016, 08:47 AM.Leave a comment:
-
Thanks
MM thank you for the pictures of your part "G" I ordered my copper this morning.
I finished gluing my three cores a few minutes ago.
Thanks again,
ShadowLeave a comment:
-
Primary winding and connection
The below pick is taken from the patent. the black arrows are correct. as i have been saying to wind your primaries from the secondary side North to the outside South CCW. the south end or rear of the core is connected to part G. the patent clearly shows this but the arrow in red is wrong and the blue is corrected. ALL negative connections are to the front of the coil facing the secondary and the rear of the coil is connected to part G. this was purposely drawn to throw you off. both set are wired just the same as mirrored sets so set S should be wired just like set N in black.
even though it is just a drawing drawn in elementary form, some things just are the way they are. power enters in front, exits out the back under pressure to part G. kind of reminds me of a turbo, the exhaust turns the turbo that feeds the intake that boost the power. thus a recycle of energy.

MMLast edited by marathonman; 11-18-2016, 07:57 AM.Leave a comment:
-
Part G and Recycling
I guess the confusion was the way i described the power recycling. it is not actually back and forth between part G and the primaries. see as the low primary's power is shoved into part G and stored in the form of a magnetic field, it is fed every half turn. when the system needs power it takes it from the magnetic field converted to currant to be circulated around to the primaries on the negative side not back and forth between them. so i see where this would bring on some confusion. part G feeds the primaries after the power supply is removed, the primaries feed part G and the second secondary replaces losses occured in the process.
the currant stays in the same direction at all times even when the primaries are feeding part G.
thus the power is recycled.
hope this eases some confusion.
MMLast edited by marathonman; 11-16-2016, 03:53 AM.Leave a comment:
-
Doner
Well folks another donor has spoken Mr John has made a very generous donation to the advancement and distribution of the Figuera device.
our world needs cheep clean abundant energy if we are to survive the very trying and troublesome times a head. i as a very knowledgeable person of the Figuera device and will do everything i possibly can to bring this device to the face of every human i possibly can.
every donation, even one single dollar, brings us that much closer to a environmentally safe power supply that EVERY person in this world should have access to. imagine driving your car free from pollutants, houses powered by your device free for the rest of your life, or even growing fresh fruits and vegetables 24/7 365 days a week free from corporate America's poisons and greed to control us. this device can make this all happen and thanks to john, half way around the world, thinks this can happen to
Thank you John.
MMLast edited by marathonman; 11-12-2016, 01:10 AM.Leave a comment:
-
Read
Yes i read all that unlike some people. i reread all post almost every day and update post #3.
no life story needed you just jury rigged it, that ok, it works. it seams to me all you had to do is flatten both wires at that junction and the original would of worked just fine.
anyways they will work for me if i can take a part and reverse the compression lug.
MMLast edited by marathonman; 11-12-2016, 06:00 AM.Leave a comment:
-
MM,Originally posted by marathonman View Post
Think about this...if I do not turn that piece around...then the bolt-nut would be binding with core wall and wires...no room for bolt...Uh?
But sorry, I didn't know that by just turning that piece would get you all lost with part.
Not that fast MM...if you would have read me well...when I wrote before I had to use housing from a bigger size assy...'cause in the typical one for 6 gauge two 8 gauge will not fit...much less three pieces of wire.Originally posted by marathonman View Post
The shape of this type of housings ends in a "V" and not a square...so wire keeps sliding off as you tight.
Remember I used to rebuild big block engines...plus I have worked in automotive heavy collision frame work for a while...so fastening , bending, cutting and grinding...things is a piece of cake for me MM...
So, do not worry...it would be just beautiful...I know how to do that as well...refinishing...even with a "clear coat" on top...
Good nite to All...
UfopoliticsLast edited by Ufopolitics; 11-11-2016, 02:42 AM.Leave a comment:
-
Lug
I see you turned the movable piece upside down so the wire will be below instead of above and added the screw. i wish you would of said that from the start. it would of saved me a whole day looking for that stupid part that didn't exist.
but now i know.... thanks.
if you would of cut the small piece the same size as the opening then put it in first the wires would sit snugly between it and the screw adjustment just fine or added a small piece of wire first to fit in the grove. duh !
duh !
MMLast edited by marathonman; 11-11-2016, 01:19 AM.Leave a comment:
-
MM,Originally posted by marathonman View Post
That is exactly the one I have sent the first link ...watch at My Picture:
[IMG]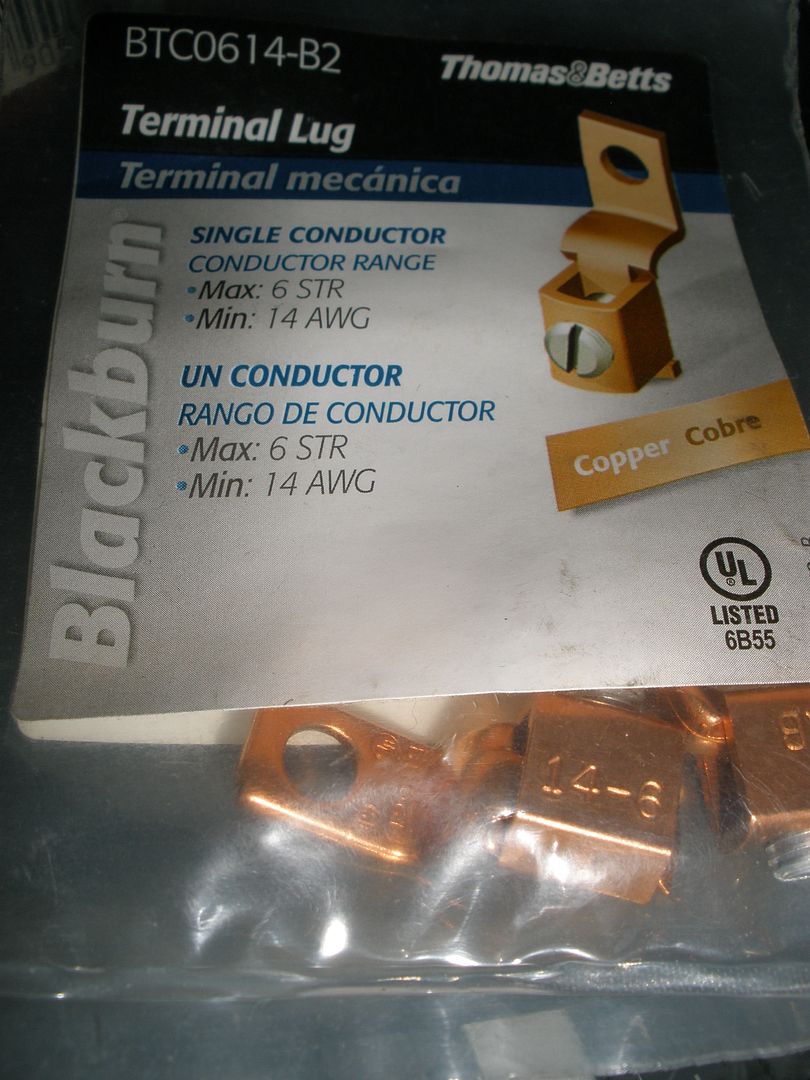 [/IMG]
Then the Pic of the one at Home Depot:
[IMG]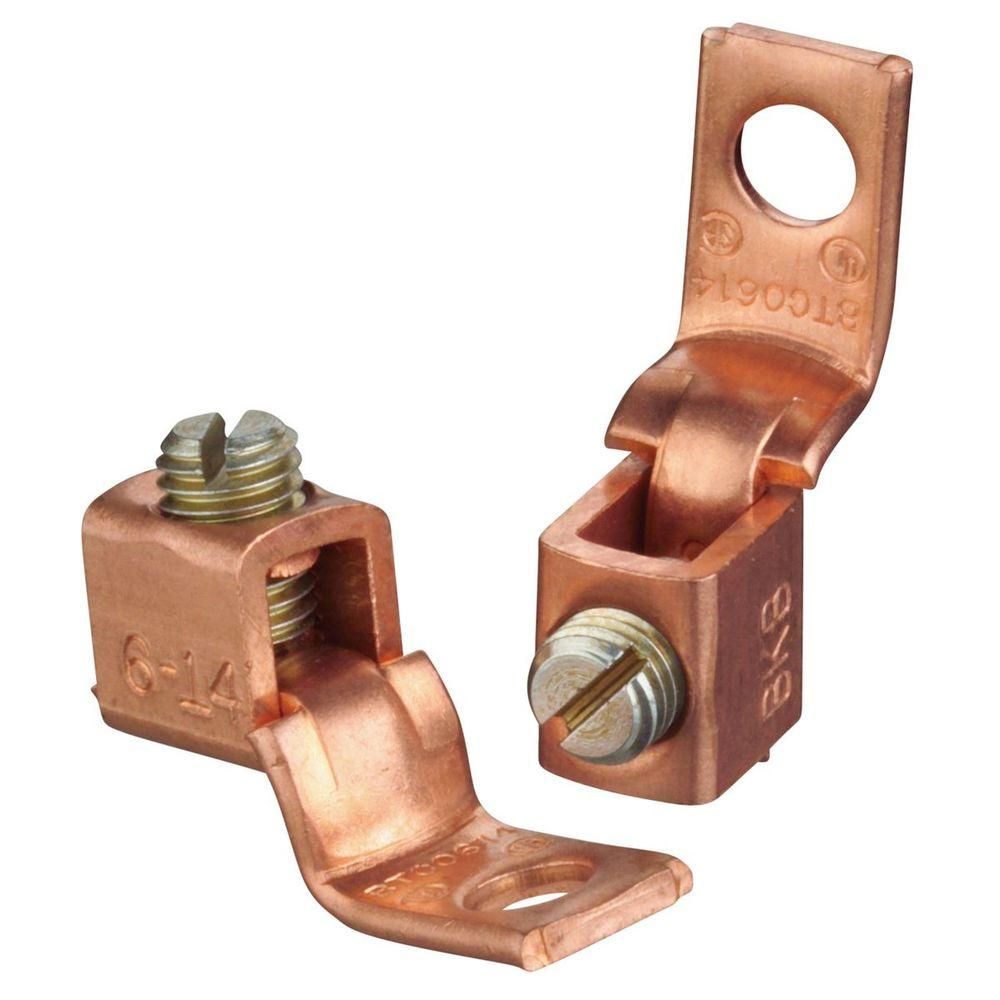 [/IMG]
Direct LINK TO HOME DEPOT
Now, like I wrote to you...There are Two (2) sizes of the same type but for bigger than 6 gauge awg (which by the way I can't find it now...I bought them a long time ago for my Electric Bike Controller heavy gauge wires)...I've got both...so on the toroid end coupling I am showing...I used the round housing with screw from the bigger gauge, then adapted the small connector (just for the looks to be the same type for both N-S) and added a piece of copper to press the two wires (you can see at my pic), since the smaller connector does not have enough width to press both wires with screw.
Hope you could find it now...when going to H.D. go to the Electrical Rack where all butt and copper connectors are...they should be there...if not, then ask for Manager and raise hell...
Regards
UfopoliticsLast edited by Ufopolitics; 11-10-2016, 11:12 PM.Leave a comment:
-
Cool
Gotcha !Originally posted by Ufopolitics View Post
I'm talking about this connector for the fourth time not the split connector. and if that is the one in the link then how did you modify it.??

Shadow;
Well we did have a skirmish but that was taken care of.
I thank you for your comment. yes it is amazing when you rid a thread of unintelligent trolls what you can accomplish. of course having intelligent like minded builders that listen to reason helps immensely. i wanted to lay the foundation first to get all builders on the same page then using those parameters as a guide for all to follow. now it's build time. WOO WHO !
we will shortly be having a few other like minded builders join in and together we will spread the word.
Good to hear from you.
MMLast edited by marathonman; 11-10-2016, 09:52 PM.Leave a comment:
-
Wanted my steak cooked man!!...Originally posted by marathonman View Post Got tired of waiting for part G to get hot...lol
No...Seriously now...I was just making some resistors tests with my new PSU...that's all.
UfopoliticsLast edited by Ufopolitics; 11-10-2016, 08:32 PM.Leave a comment:
-
Fantastic!
This forum is actually progressing along at an exciting rate with no time wasting arguments. I will be starting on my part "G" in a couple of days when I should be getting the parts.
Thanks to Marathon Man things are happening!
ShadowLeave a comment:


Leave a comment: